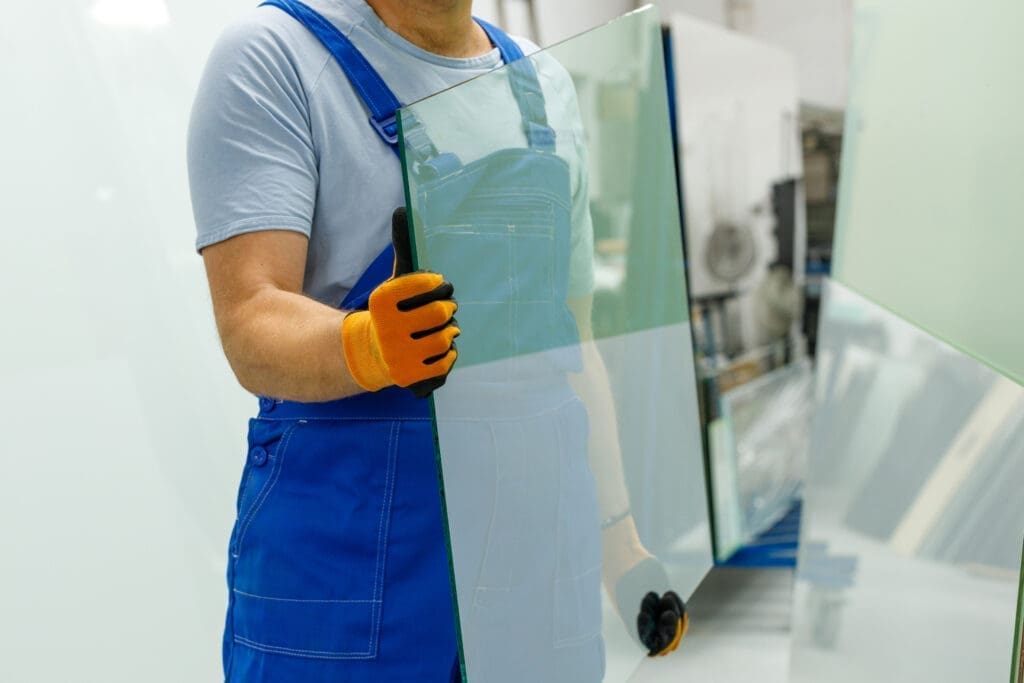
Gluing glass with UV adhesives produces excellent results when done correctly. Understanding what can compromise the strength and longevity of the bond will help you avoid the most prevalent errors.
One of the most critical steps in gluing glass is ensuring the surfaces are clean and free from contaminants. Glass is often coated with oils, fingerprints, or dust. If not properly cleaned, these residues can hinder the adhesive’s ability to bond effectively. To prepare the surface, clean it thoroughly with 99% isopropyl alcohol. Let it dry completely before applying adhesive. To ensure all moisture has been removed, heat the glass.
Prepare a fixture or jig to hold the glass in place while the glass glue is curing.
Select a UV curable adhesive designed for glass. Consider the ideal viscosity, appearance, flexibility, and thermal stability. Glass expands and contracts with temperature changes. Therefore, if the adhesive doesn’t accommodate these movements, it can lead to stress and eventual bond or glass failure.
Ensure the UV light source wavelength is appropriate for the selected glass glue. Check the adhesives technical datasheet for appropriate wavelength ranges.
Practice dispensing the adhesive. This applies to both manual and automated dispensing. Try different size tips on the bottle or container to ensure a controlled amount. Adjust time and pressure of automated equipment, etc.
If applying to a pre-assembled piece, ensure the adhesive wicks into the entire bond area. If applying the adhesive to one piece of glass and then assembling, ensure no air is entrapped.
Be prepared for spills. UV adhesives are easy to clean up before they are cured.
As with any industrial process, thoroughly test the bond for strength, environmental, and temperature resistance. Glass has unique properties that make accelerated aging testing especially important. These tests will not only validate your adhesive and lamp selection but also your surface preparation and curing schedule.
Keep in mind most glass bonds are stronger than the surrounding glass. If you plan to test to failure, protect yourself from broken glass.
Always wear appropriate protective gear when handling glass, adhesives, and UV light. Ensure adequate ventilation in your workspace for your adhesive choice.
Proper surface preparation, jigging, adhesive selection, light selection, and testing will help you achieve successful glass bonds that stand the test of time. If you have any questions or would like recommendations, don’t hesitate to get in touch with Permabond.