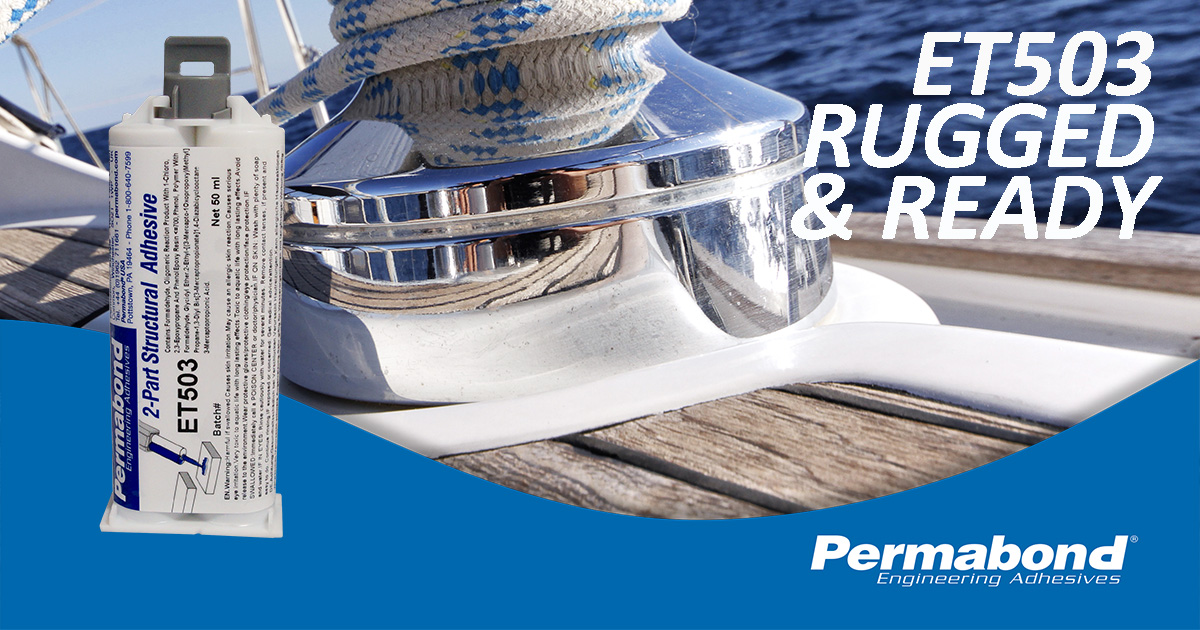
Surface-initiated acrylics form extremely strong structural bonds to metals and other types of substrate. The following is a brief look at some of the best ways to use them and answers to some of the most frequently asked questions.
When working with surface initiated acrylics, the process of the ‘room temperature cure without mixing’ has been shown to have the best results, and it can be done the following way.
- Start by cleaning your surface, as while most surfaces can be bonded as received, grease, wax, and some mold release agents can prevent optimal contact adhesive performance and should be removed prior to bonding.
- Apply a THIN layer of initiator to one surface by either a fine mist spray or by wiping.
- Apply a bead or drop of liquid adhesive to the centre of the mating surface. Use enough adhesive to cover the entire bond area and wipe away any excess adhesive squeezed out of the joint.
- Assemble parts as soon as practical but at least within two hours of applying the initiator.
- Press the assembly together using sufficient force to spread the adhesive thinly (0.02”).
- Clamp for the length of time listed as the upper limit of the fixture time, and you are done.
Frequently asked questions about using surface initiated acrylics
1) To which surface should I apply the adhesive, and to which should I apply the initiator?
- If bonding a porous substrate, put the initiator on it and the adhesive on the other.
- If bonding motor magnets, apply the initiator to the can and the adhesive to the magnet, which is generally the easiest process.
- If bonding two porous substrates, put the initiator on both and apply a bead of adhesive over it, and be sure to assemble immediately after applying the adhesive.
- If bonding two non-porous substrates, the choice is yours, but choose whichever will be best for the assembly process.
2) Why do I have to apply a bead of adhesive? Can’t I coat the other part?
- In many applications, spreading the adhesive on one surface will work as well. However, the spreading action that occurs from applying a bead or a drop produces optimal mixing of the adhesive and the initiator for the greatest bond strength. Also, coating the surface could create air pockets that are difficult to detect and can weaken the joint.
- For wider bonds, sometimes a serpentine bead must be dispensed to ensure adequate coverage, though you should avoid dispensing shapes that, when squeezed thin, will create air pockets.
- What if the gap exceeds 0.5mm (0.02”)?
- For gaps greater than 0.5mm (0.02”) but less than 1mm (0.04”), apply the initiator to both surfaces. After dispensing the adhesive, mate the parts quickly. For even greater gap filling, consider an epoxy.
4) Will the surface initiated acrylic adhesive cure faster or create a stronger bond if I use more initiator?
- A thin film or coating is sufficient. Using too much initiator can actually weaken the bond strength.
5) What is the best way to apply the initiator in a thin film?
- Some process lines wipe the initiator on with a pad or cloth, while other high-speed lines use specialised equipment. There is no single best way. Though a variety of equipment is available to ensure an accurate thin layer of initiator is applied.
For further help and advice, please contact Permabond.